This post may contain paid and/or affiliate links. I may make a small commission at no extra cost to you. Please see our Privacy Policy.
I’m not going to lie, I used to be scared of scallops.
But now, I absolutely love them.
When prepared correctly, scallops are sweet and tender, and have a great flavour that pairs beautifully with rich garlic butter.
Jump to Recipe
Step-by-Step Guide: Garlic Butter-Seared Scallops
Prepare the Scallops
Start by removing the tough side muscle from each scallop, if it’s still attached.
Gently pat the scallops dry with paper towels to ensure they sear properly. Let the scallops rest at room temperature for about 10 minutes.
Just before cooking, season both sides generously with kosher salt and black pepper.
Heat the Pan
Place a large stainless steel or cast-iron skillet on the stove over medium-high heat.
Add 3 tablespoons of olive oil to the pan.
Allow the oil to heat until it shimmers.
Sear the Scallops
Carefully place the scallops in the hot skillet, in a clockwise direction and so they are not touching.
Make sure to leave at least 1 inch of space between each scallop.
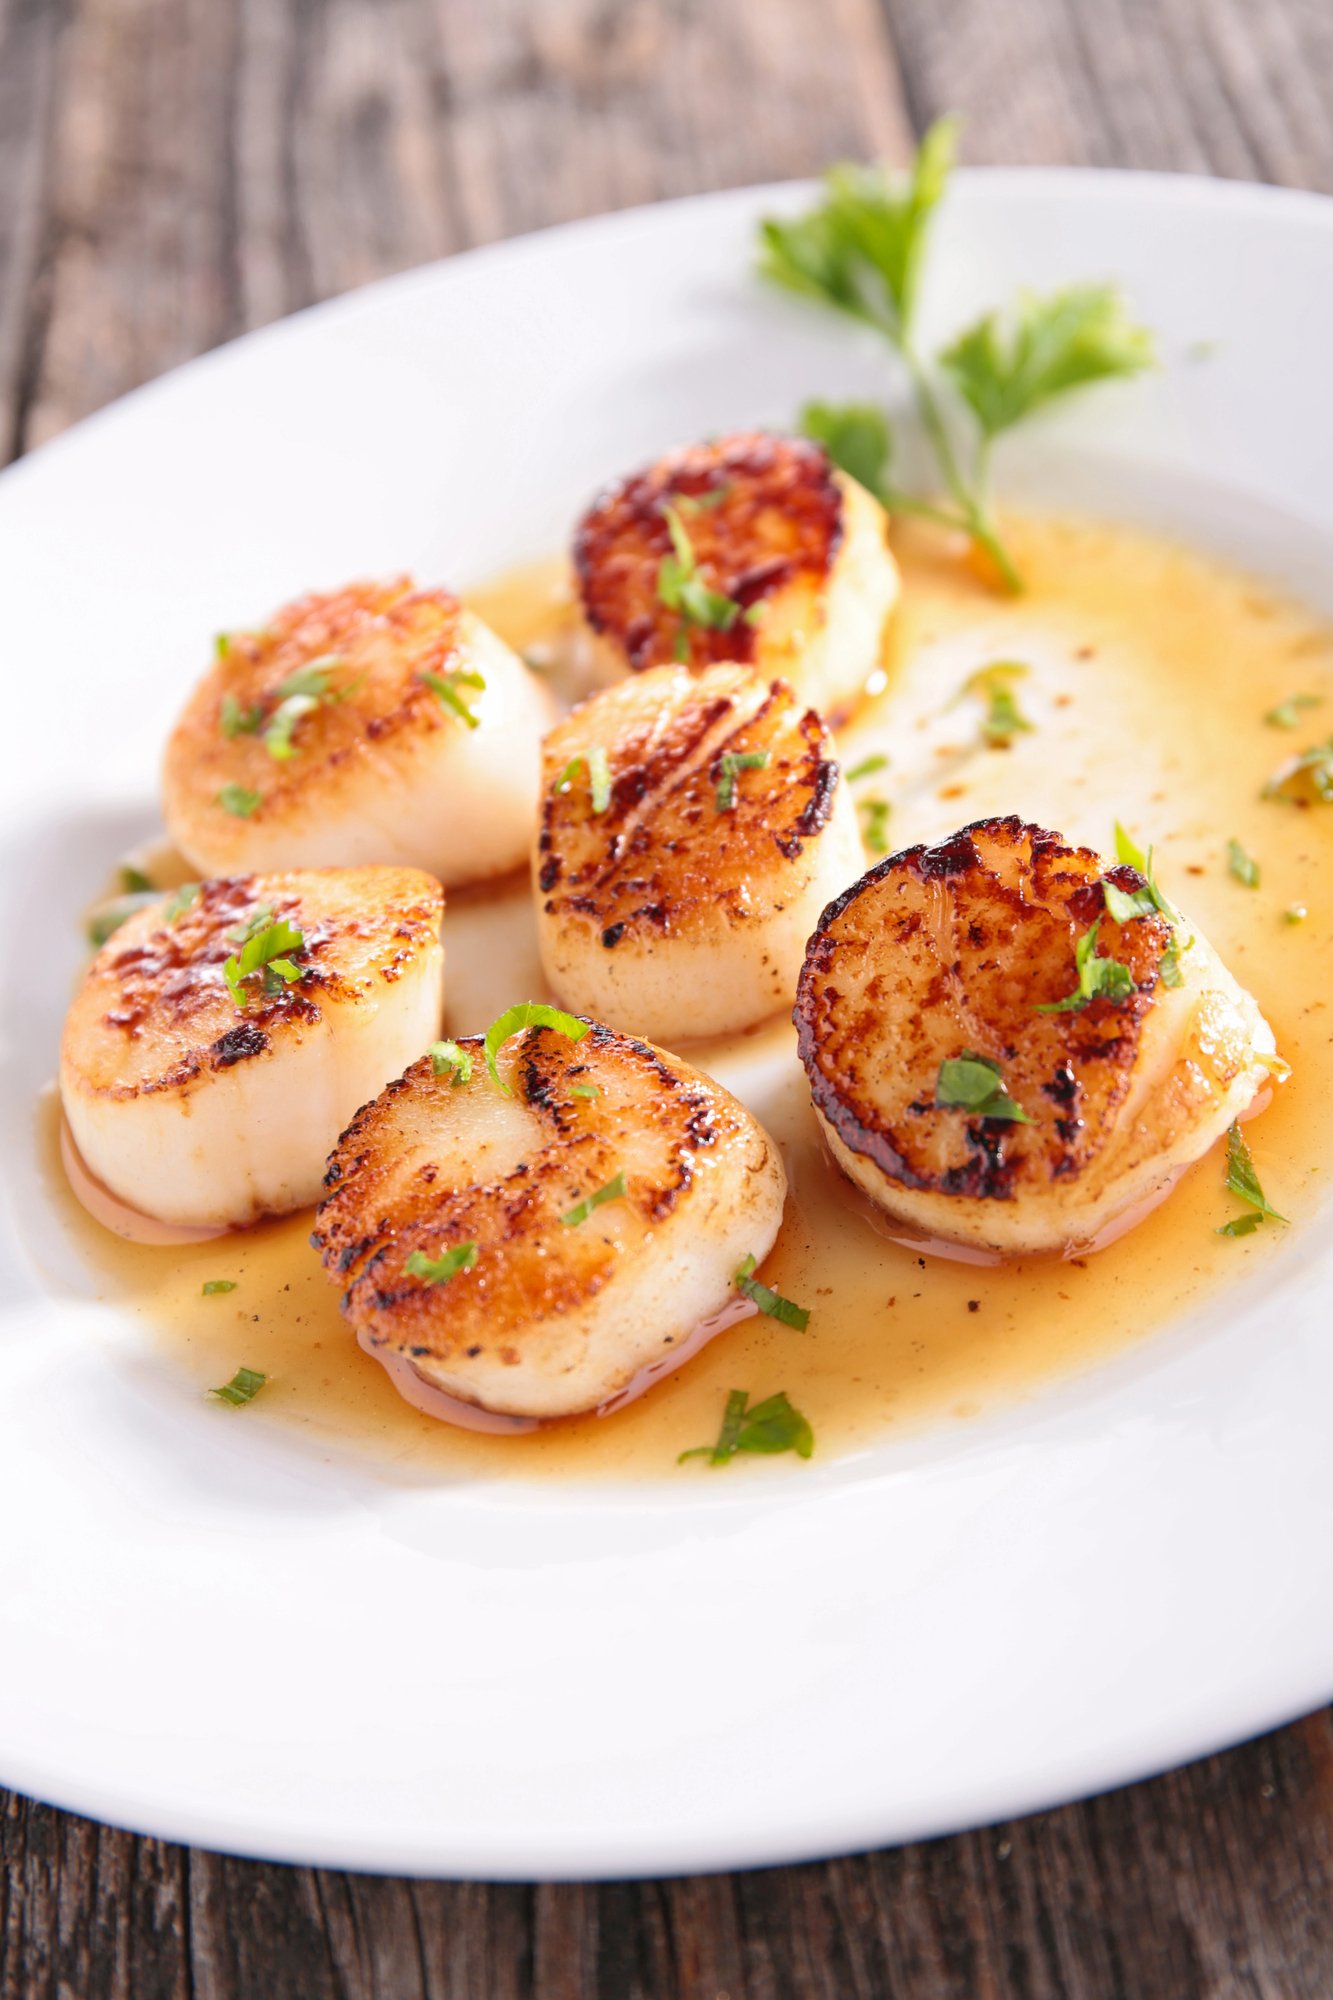
Let them cook undisturbed for 2-3 minutes, or until the bottom is golden brown and crispy.
Flip the Scallops
Once the first side is golden and crispy, flip the scallops in the same order they were placed in the pan.
Cook for an additional 2-3 minutes until the second side is golden and the scallops are cooked through.
Make the Garlic Butter Sauce
After removing the scallops from the pan, lower the heat to medium and add 5 tablespoons of unsalted butter to the same pan.
Let the butter melt, then stir in the minced garlic and cook for about 30 seconds until fragrant.
If you want extra flavour, add 1-2 tablespoons of white wine to deglaze the pan, scraping up any delicious browned bits from the bottom.
Coat the Scallops with Garlic Butter
Return the cooked scallops to the pan and spoon the garlic butter sauce over each one for about 30 seconds.

Serve and Garnish
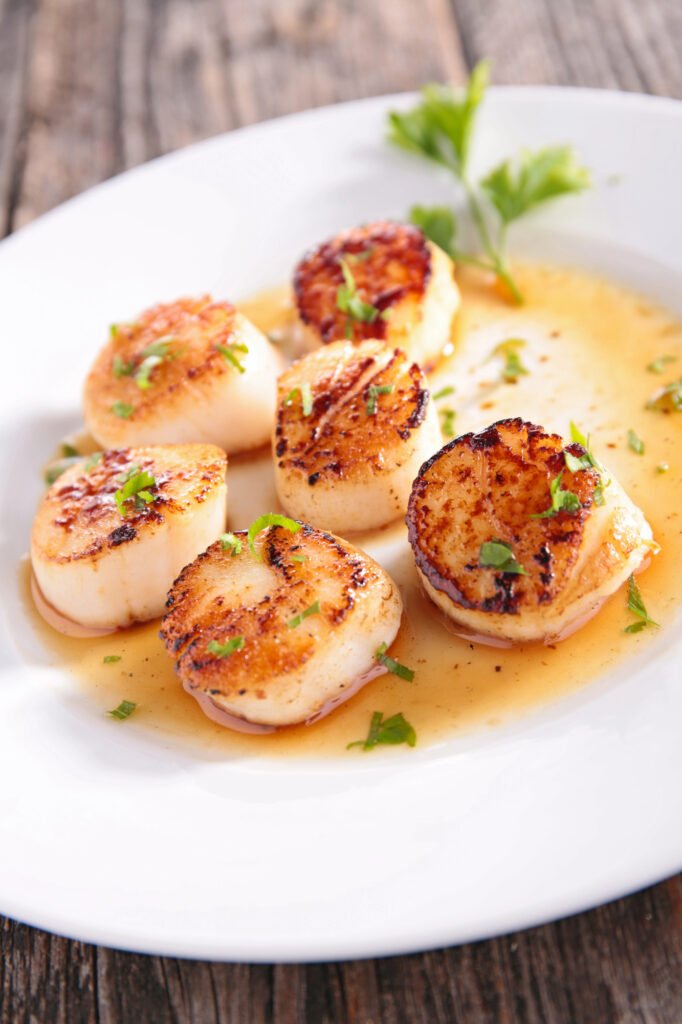
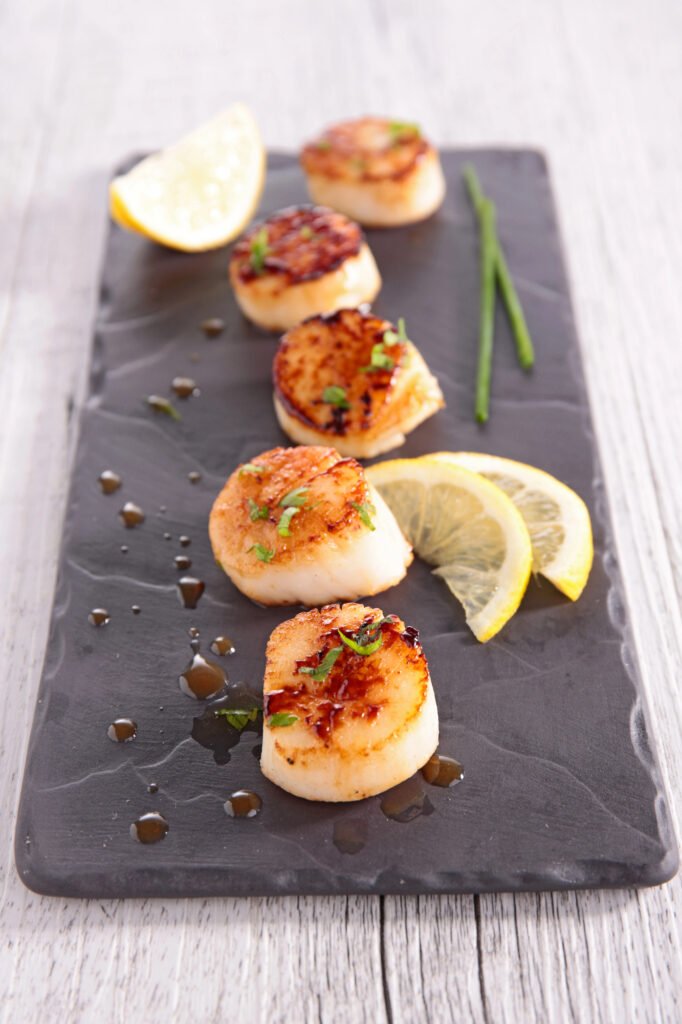
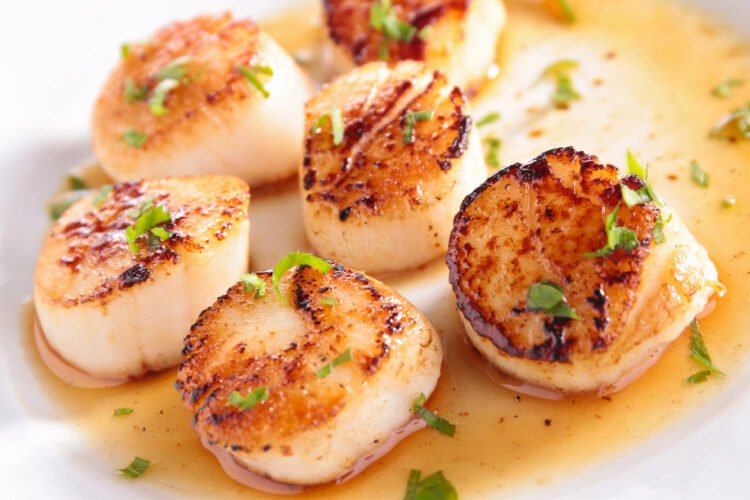
Transfer the scallops to a serving plate, placing 4-5 scallops per plate.
Drizzle extra garlic butter sauce over the top and garnish with fresh parsley, lemon wedges, and optional microgreens or baby arugula for a touch of freshness.
Enjoy!
Serve immediately while the scallops are still warm and enjoy this rich, flavorful dish!

Ingredients
Method
- Start by preparing the scallops. Remove the tough side muscle from each scallop if it is still attached, then pat the scallops very dry with paper towels. Let them sit at room temperature for about 10 minutes. Just before cooking, season both sides of the scallops generously with kosher salt and fresh cracked black pepper.
- Next, heat a large stainless steel or cast-iron skillet over medium-high heat. Add 3 tablespoons of olive oil to the pan, and let it heat until it shimmers and a drop of water dances on the surface. Once the pan is ready, place the scallops in the skillet, starting at 12 o’clock and placing them clockwise. Be sure to leave at least 1 inch of space between each scallop. Do not move the scallops once they are in the pan. Allow them to cook for 2-3 minutes, or until the bottom is golden brown and crispy. Flip the scallops in the same order they were placed, and cook for another 2-3 minutes, or until the second side is golden and cooked through. Once done, transfer the scallops to a warm plate and set them aside.
- To make the garlic butter sauce, reduce the heat to medium and add 5 tablespoons of unsalted butter to the pan. Once the butter has melted, stir in the minced garlic and cook for about 30 seconds until fragrant. If you’d like, add 1-2 tablespoons of white wine to deglaze the pan, scraping up any browned bits from the bottom of the pan.
- Return the scallops to the pan and spoon the garlic butter over each one for about 30 seconds to coat them in the sauce. Sprinkle the scallops with chopped fresh parsley for garnish.
- To serve, divide the scallops among plates, placing 4-5 on each plate. Drizzle extra garlic butter sauce over each serving and garnish with lemon wedges and microgreens or baby arugula, if desired. Serve immediately and enjoy!

